So you have a 360° virtual tour, and now you want to add it into your website to boost traffic and user engagement. Here are our best (and pretty straightforward) web placement strategies to help you decide which method works for your business.
1. Embed the Virtual Tour Within the Webpage
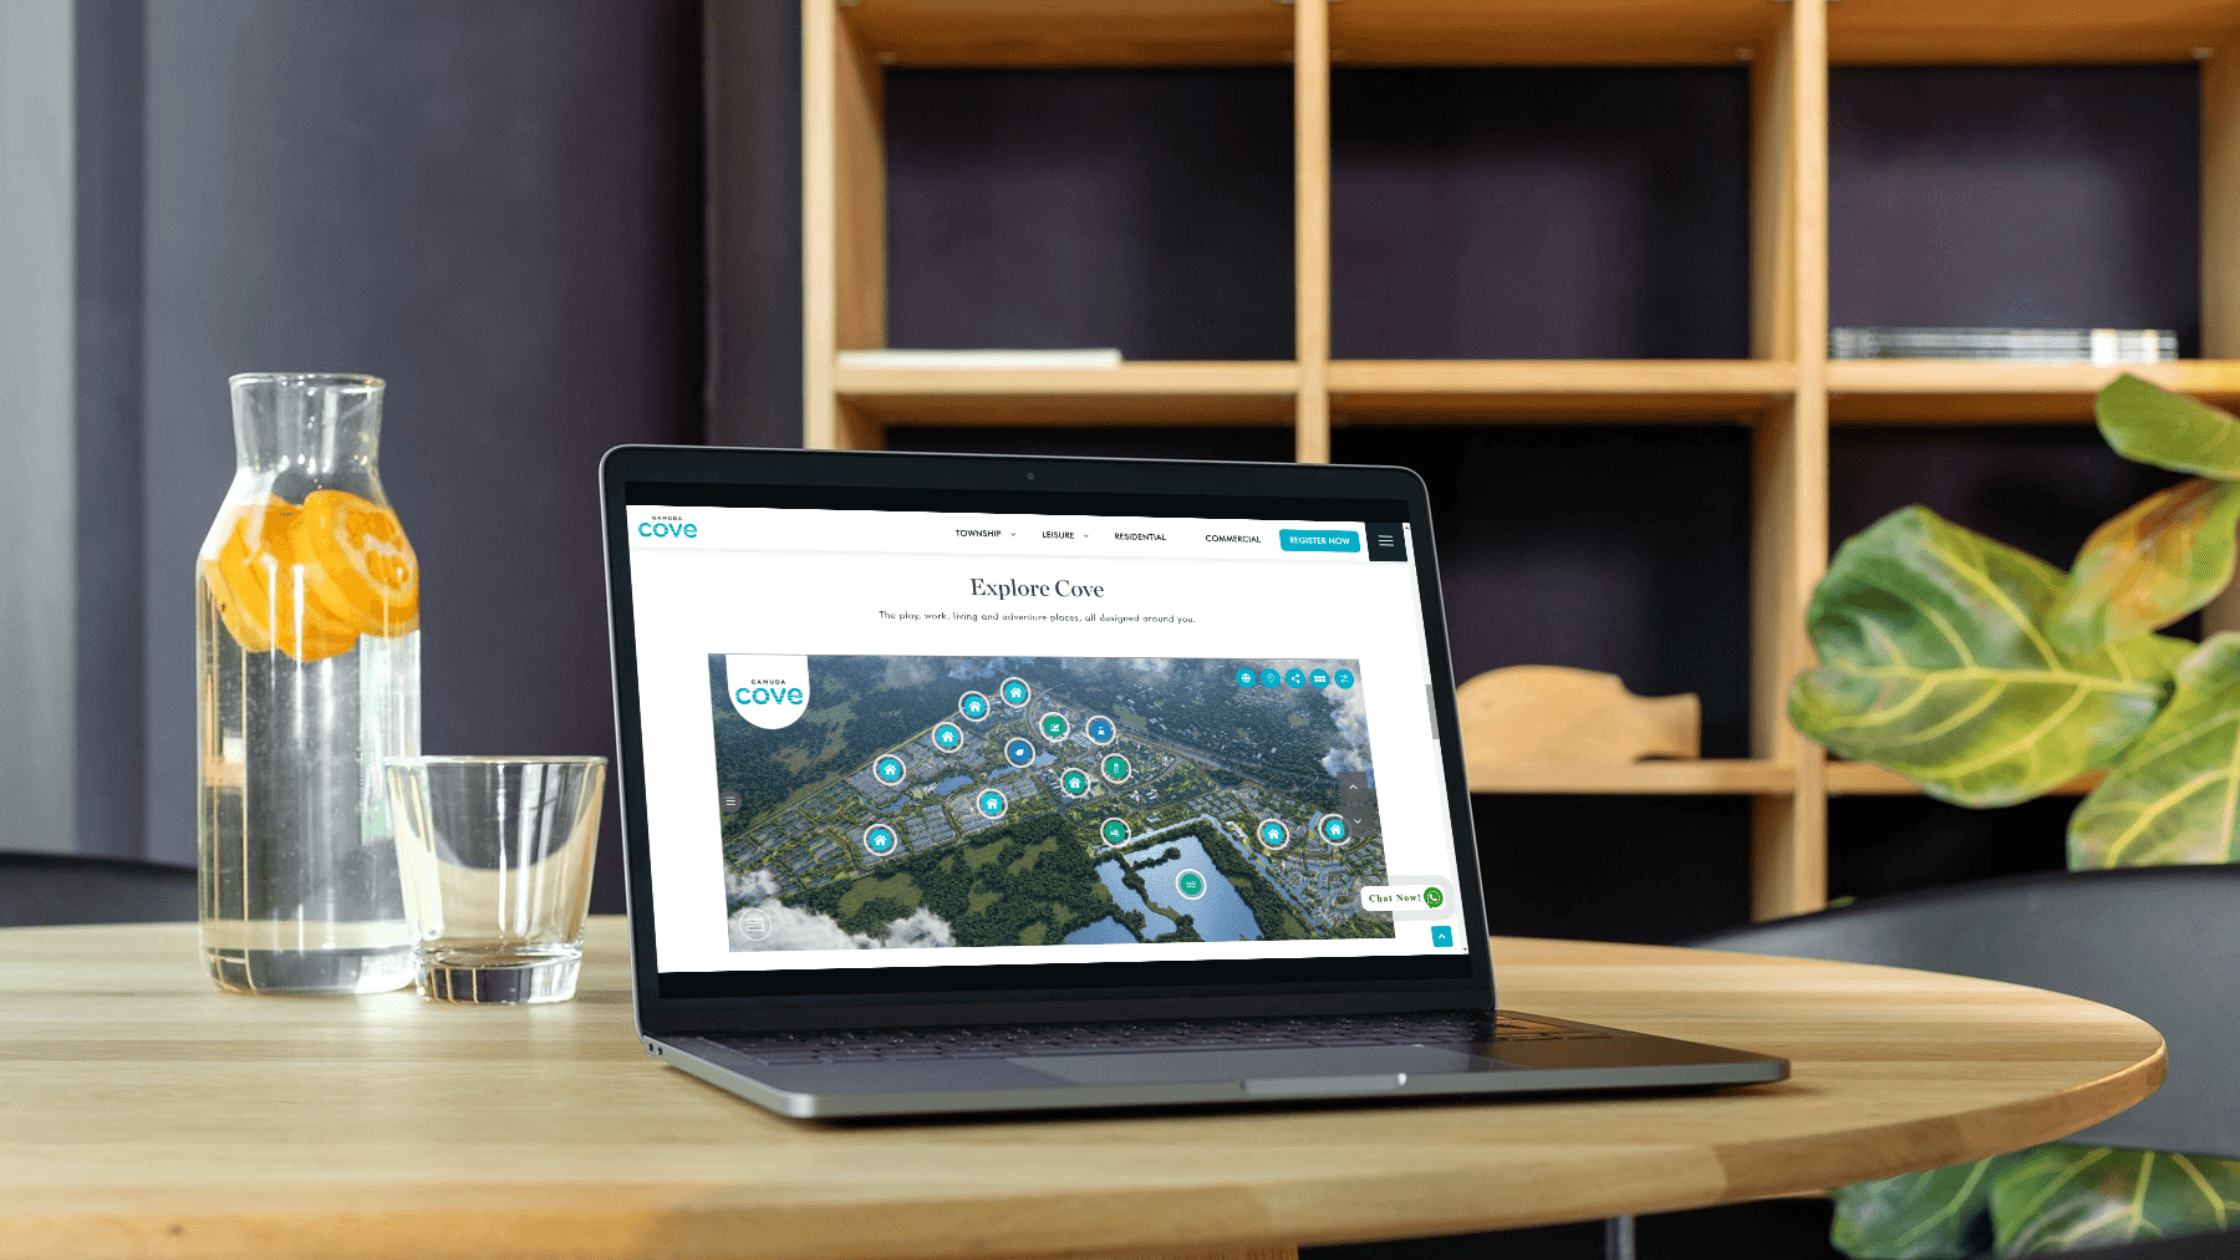
The most direct way to add a 360° virtual tour into your business site is to use an embed code. This lets the virtual tour integrate seamlessly within the body of the page. Simple, fuss free and you can even change the hyperlink to fit your brand.
Use Case
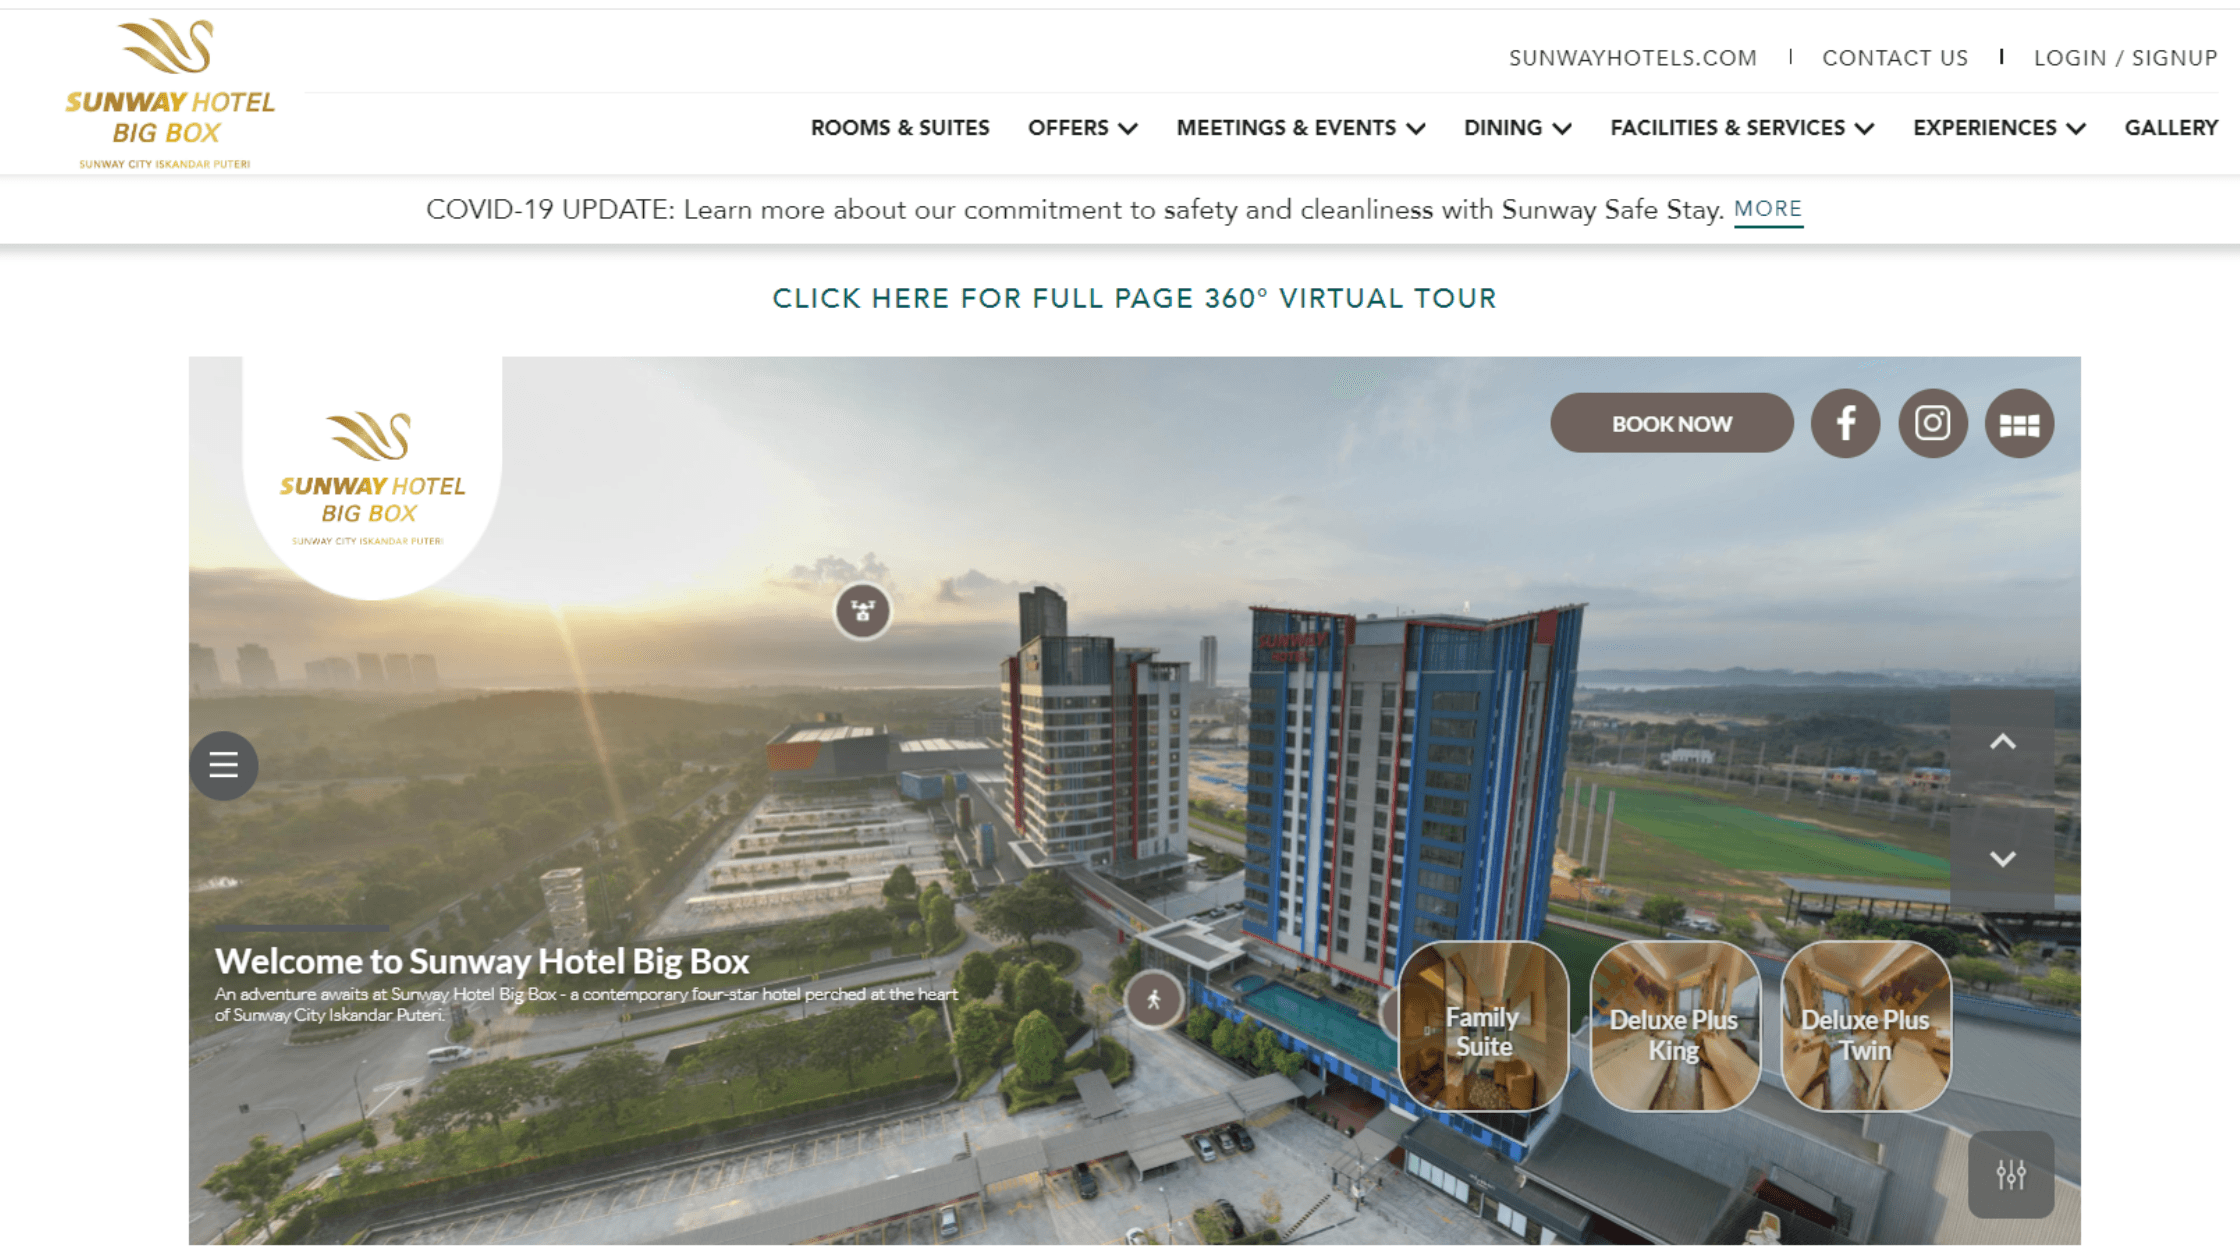
Source: Sunway Hotel Big Box
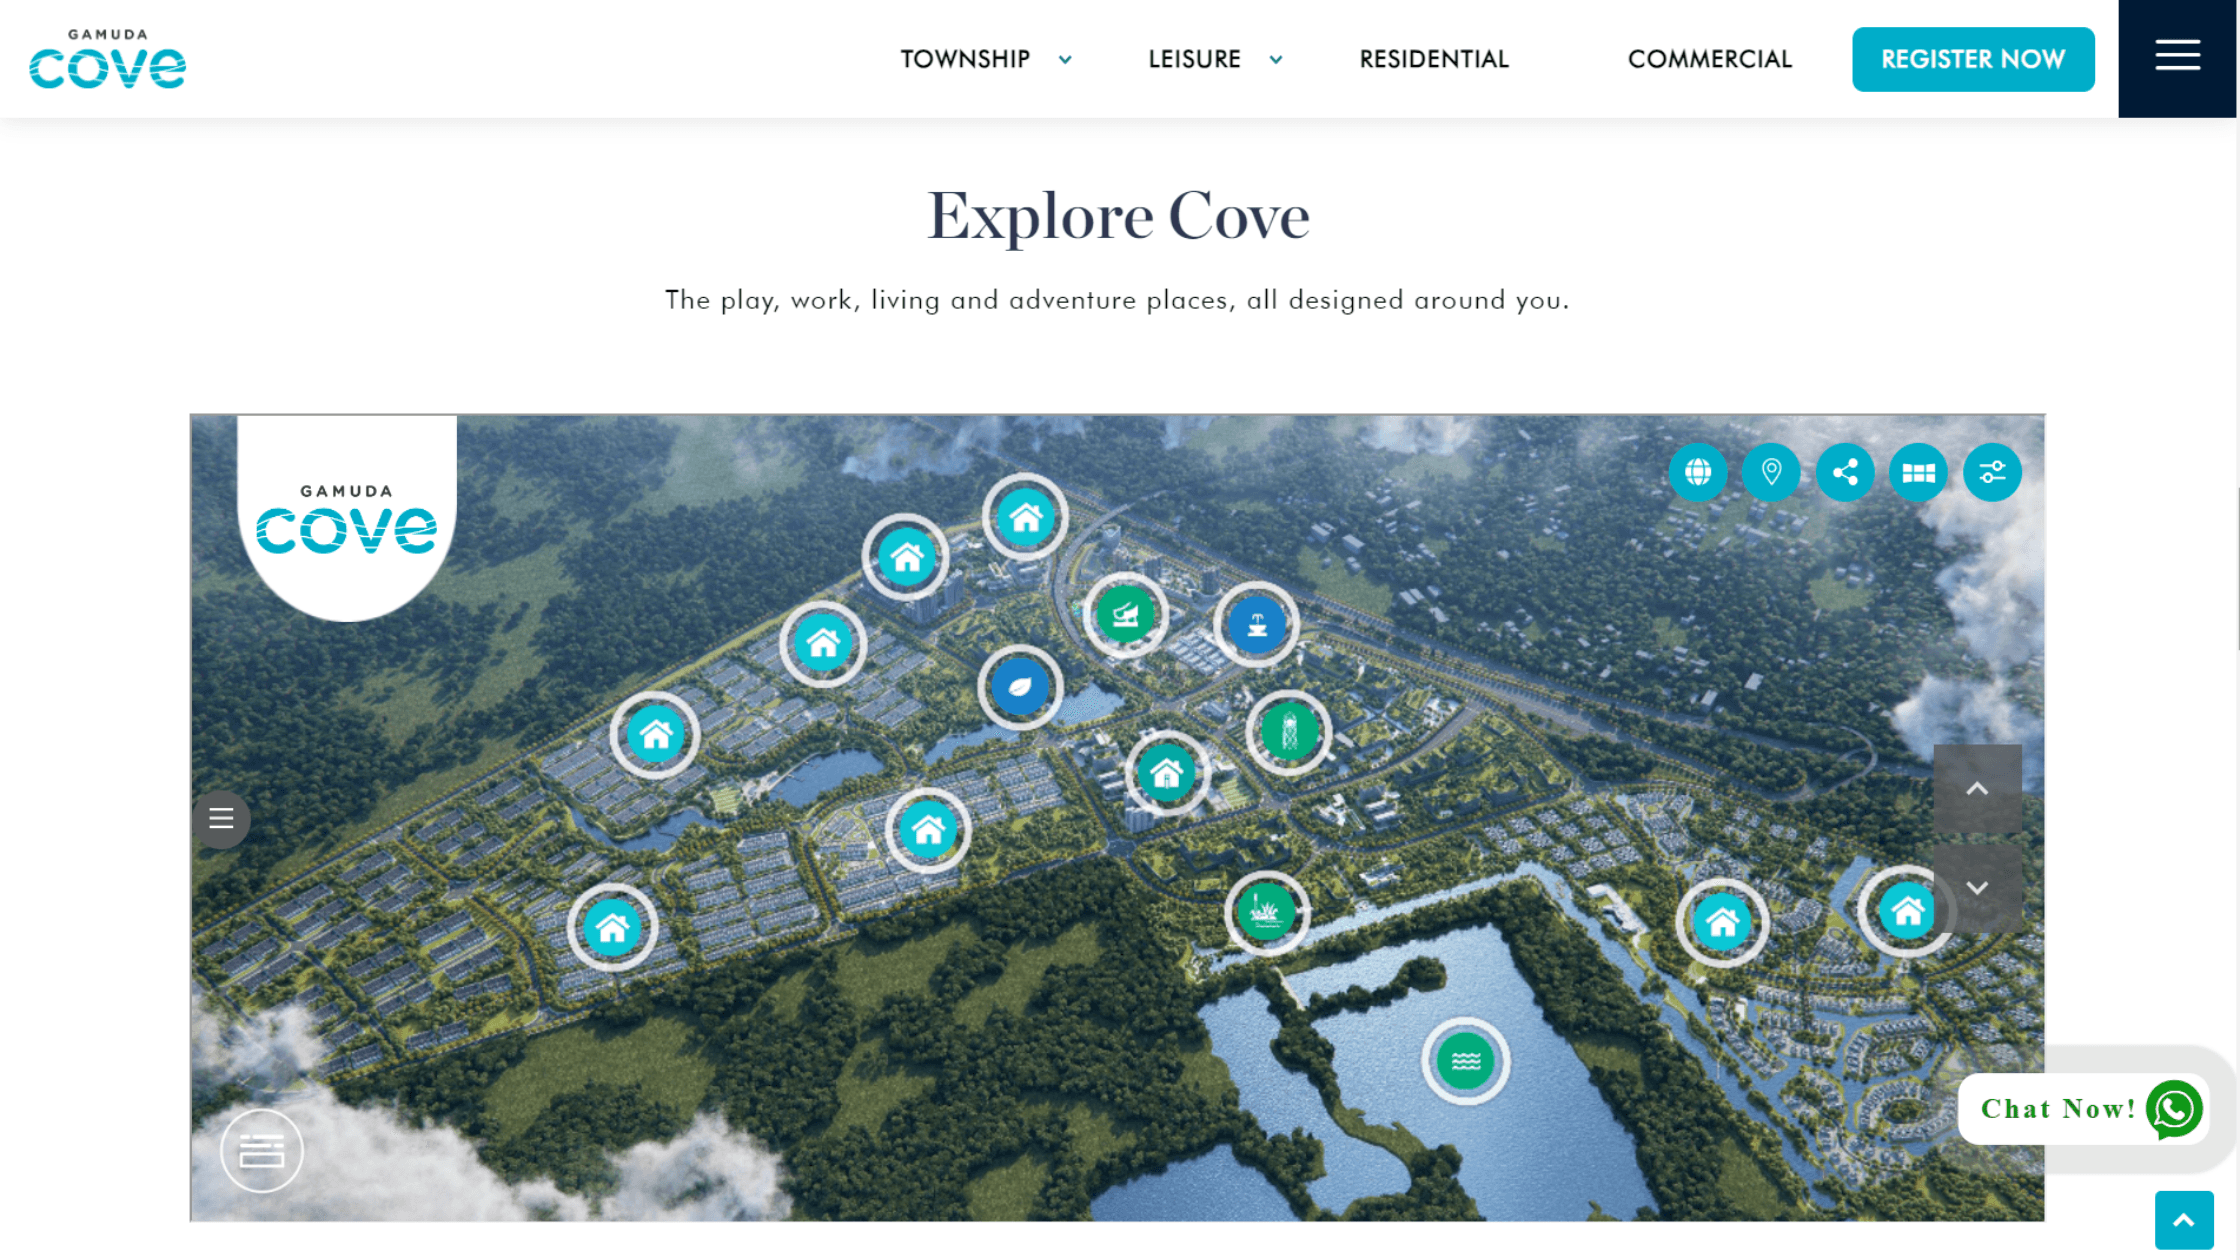 Source: Gamuda Cove
How to Embed a Virtual Tour:
- Step 1: Get the HTML embed code from your virtual tour provider.
- Step 2: If you are using a Content Management System (CMS) like WordPress, Wix, Weebly, or Squarespace, access the backened and click into the editable page where you plan to display the virtual tour.
- Step 3: Paste the embed code into the HTML section. Depending on the CMS, this can either be a content block or a widget for custom HTML.
- Step 4: Save and check that the virtual tour is displayed properly, then hit publish.
Why Choose to Embed?
- Improved Engagement: Since visitors can check out the virtual tour without navigating away from the site, this method can lower bounce rates and keep them engaged longer.
- Customisable: You can adjust the size, dimensions, and autoplay options such that it fits with your site design.
- Seamless Integration: Embedding makes it easier to fit the virtual tour to the look of your website.
- Save Server Space: With an embed code, you can host the virtual tour externally, eliminating the need to upload large files directly to your server. No need to worry about space or technical limitations!
Tips
- Talk to your virtual tour provider or developer about how you would like to display it on your website, so that they can consult or customise the code if needed.
- Depending on your website specifications, the virtual tour may appear a bit differently. Always test it out to ensure that it fits well.
Get in touch with us to create your virtual tour.
2. Use a Direct Link to the Virtual Tour
We get it - sometimes embedding on your website is not possible. Perhaps your website does not support custom HTML, or the business has specific brand regulations that prevents embedding. Another easy way to add a virtual tour to your website is by using the direct link. This directs users to a separate page where the virtual tour is hosted.
Use Cases
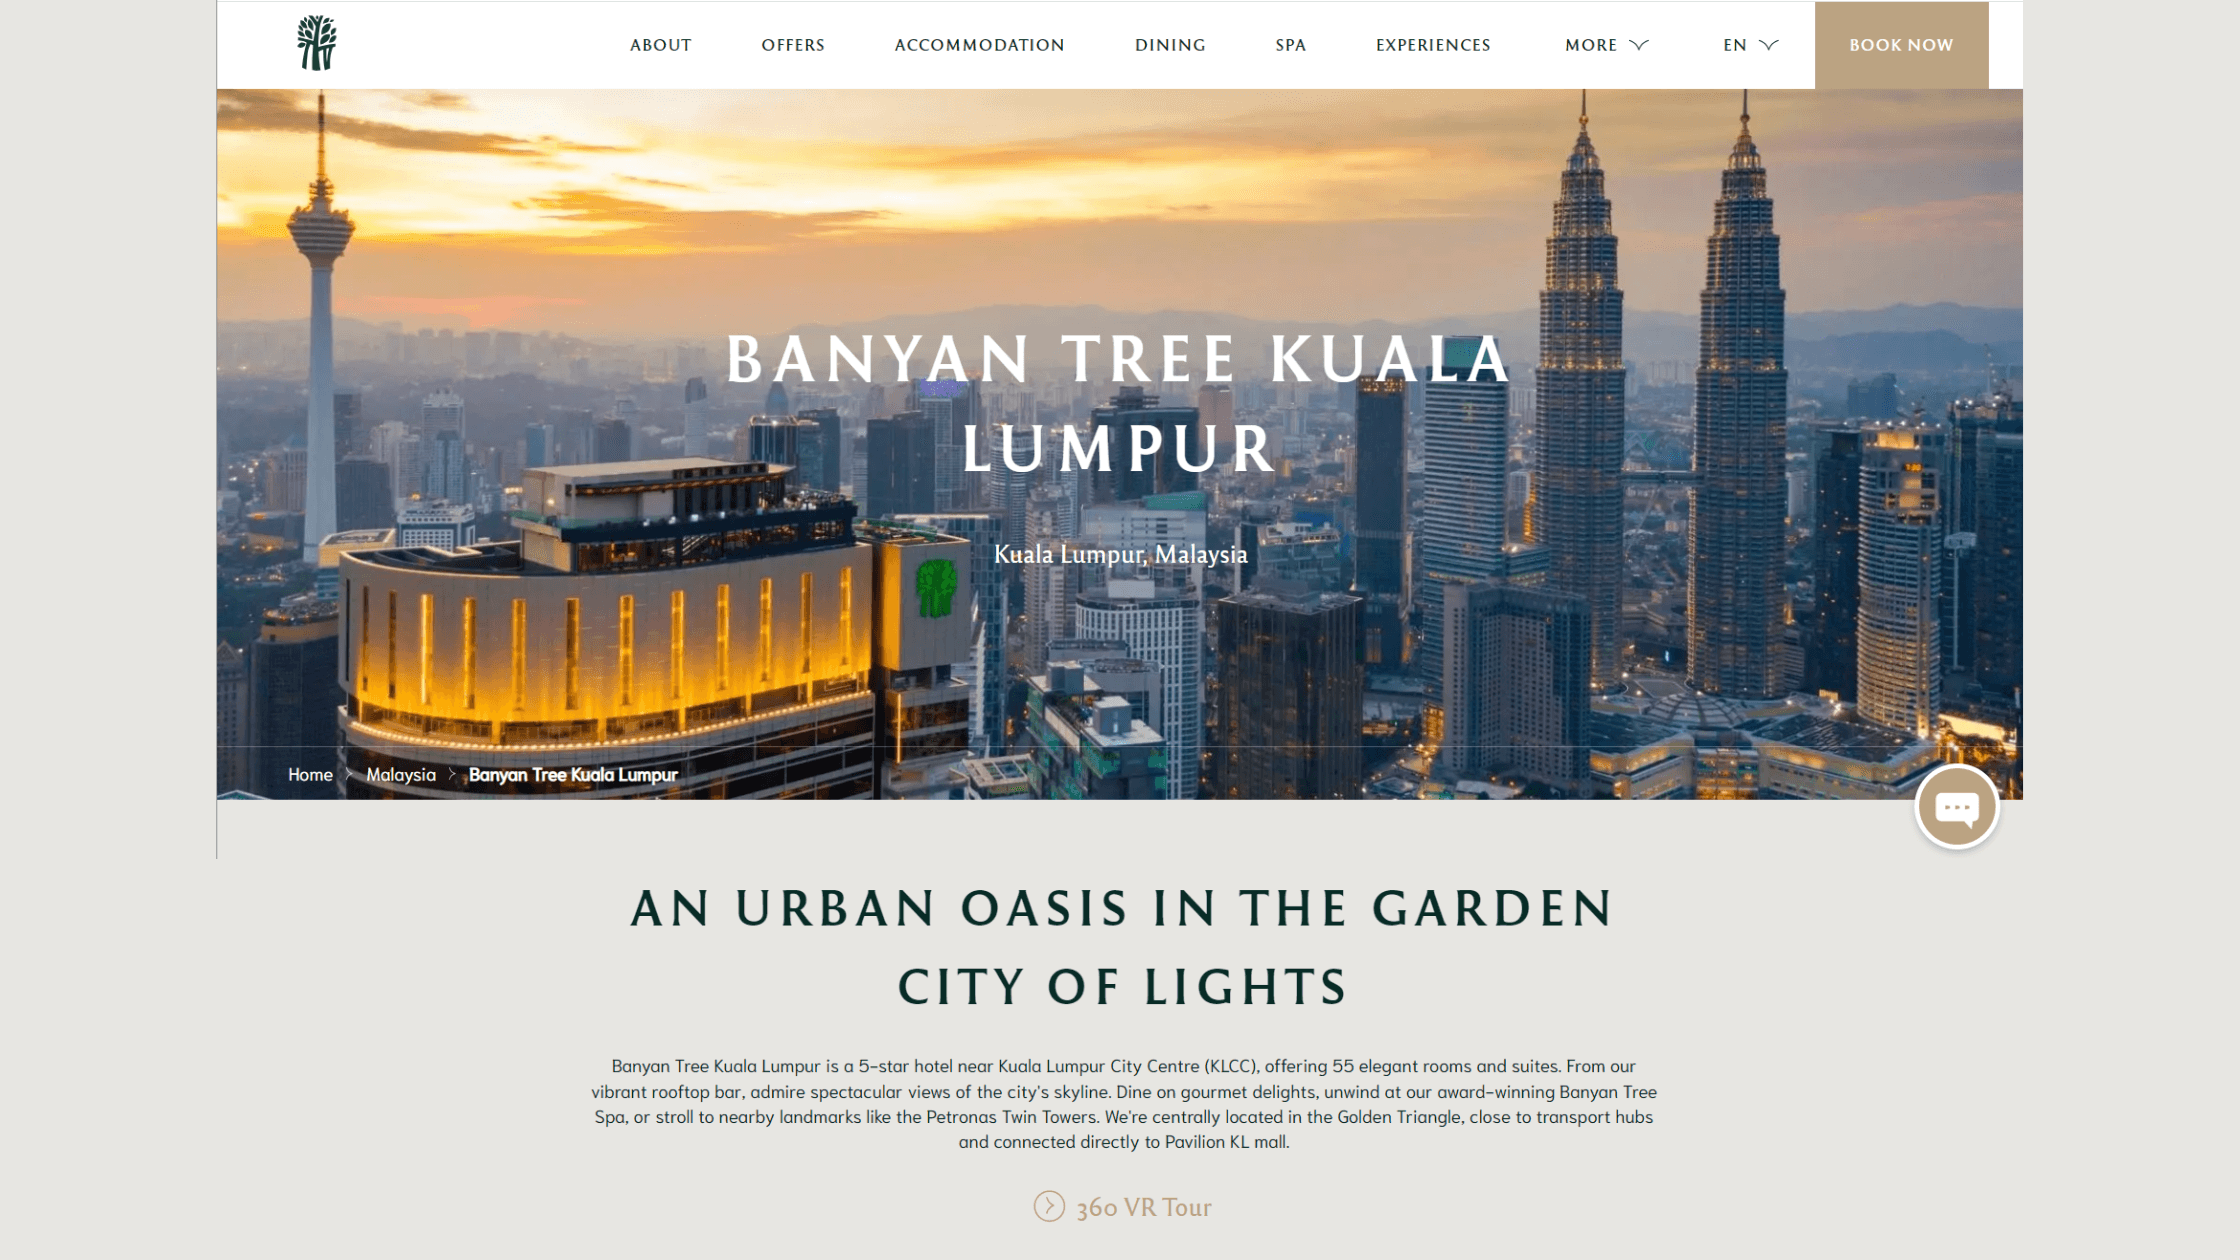
Source: Banyan Tree Kuala Lumpur
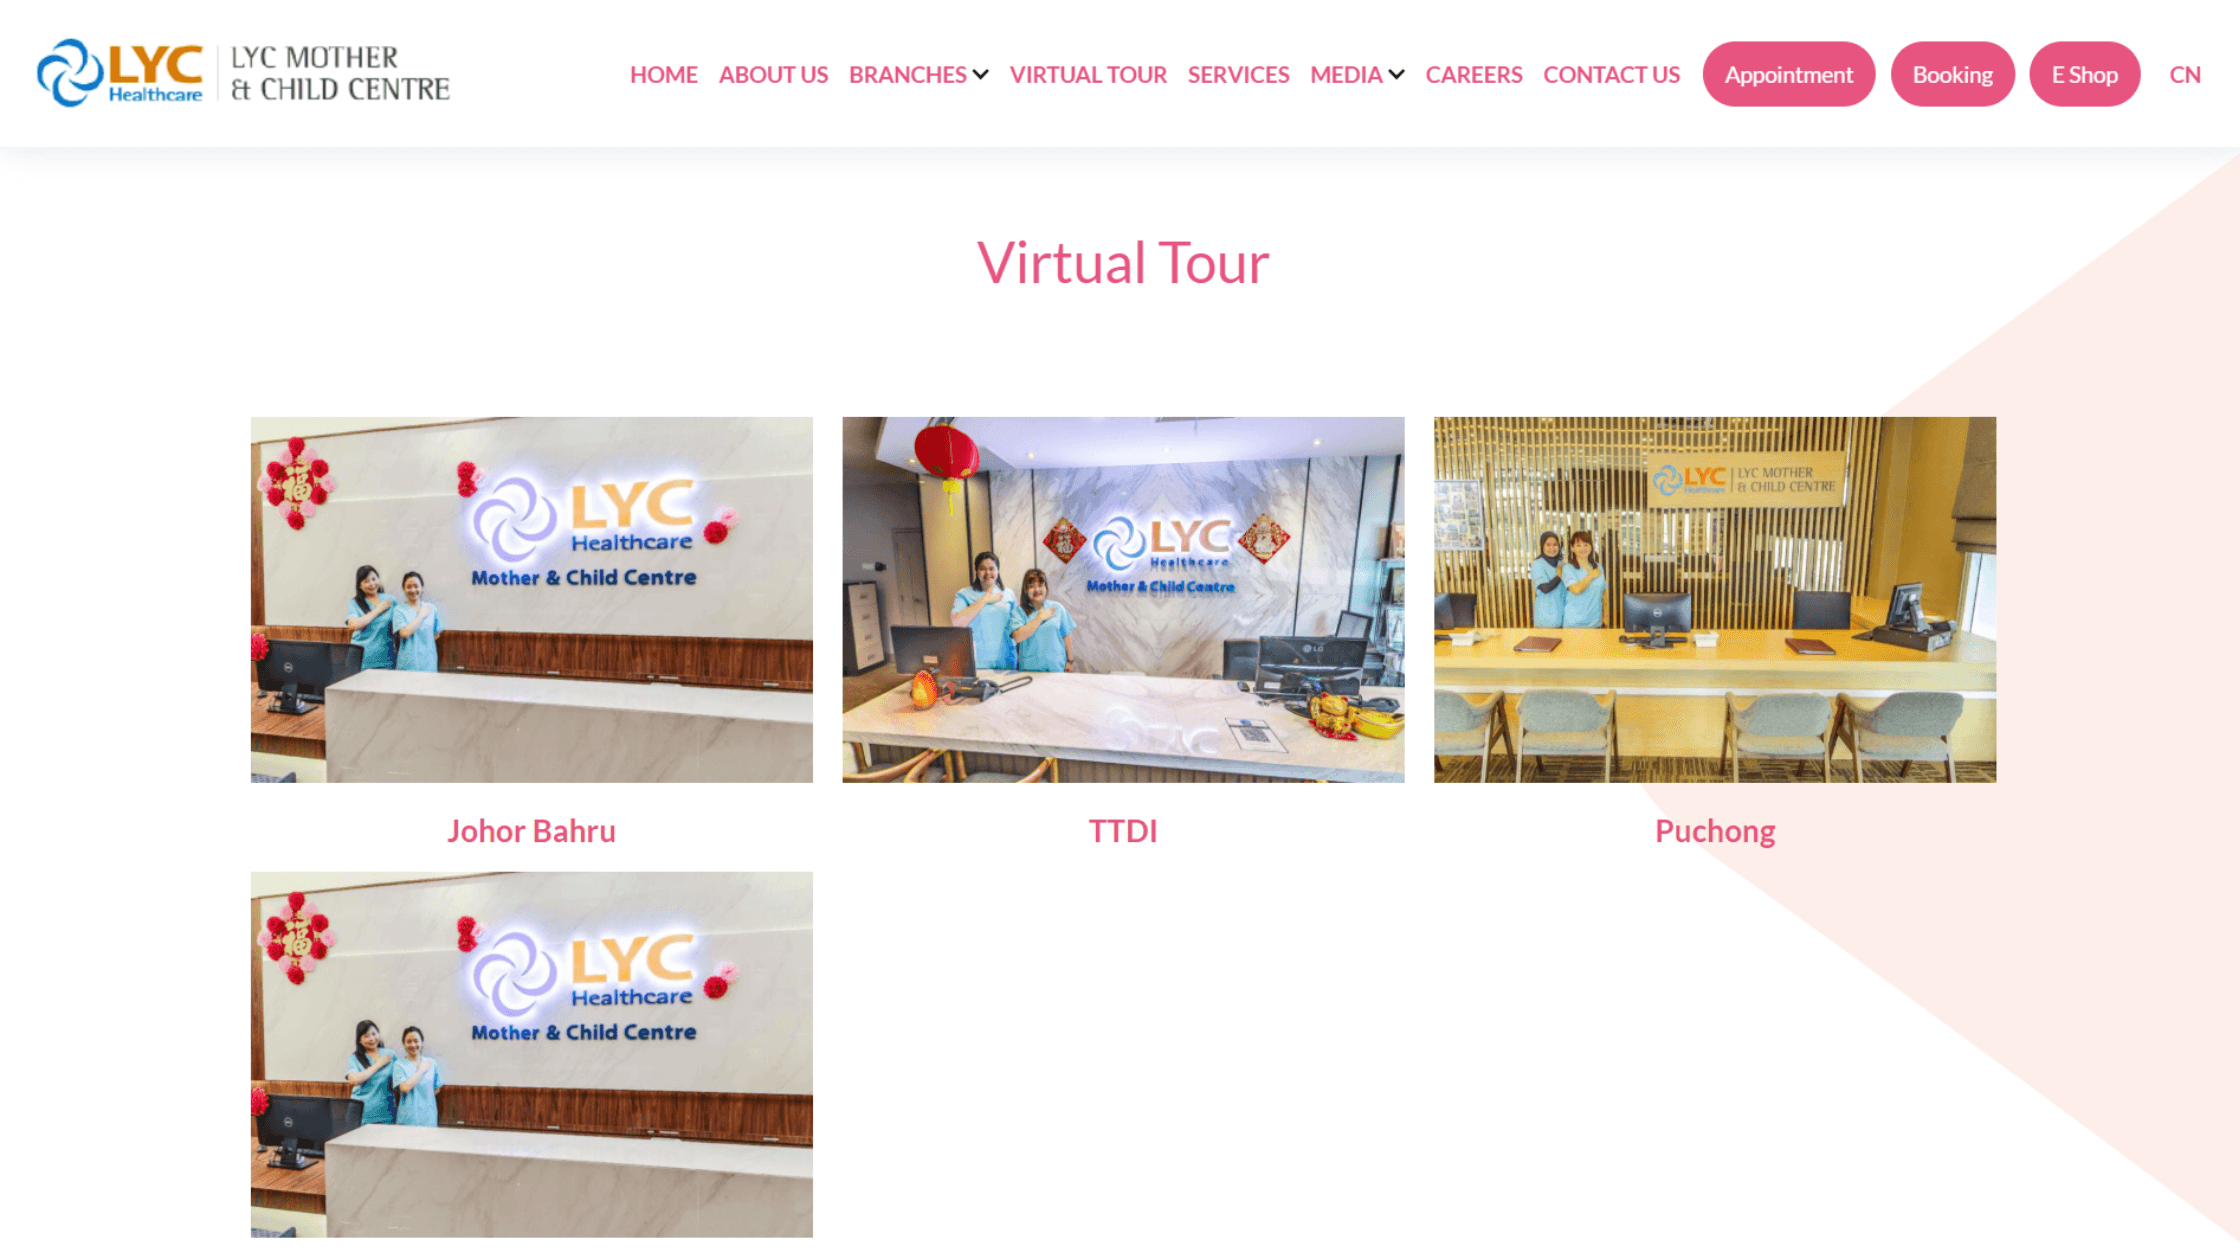
Source: LYC Healthcare Mother & Child Centre
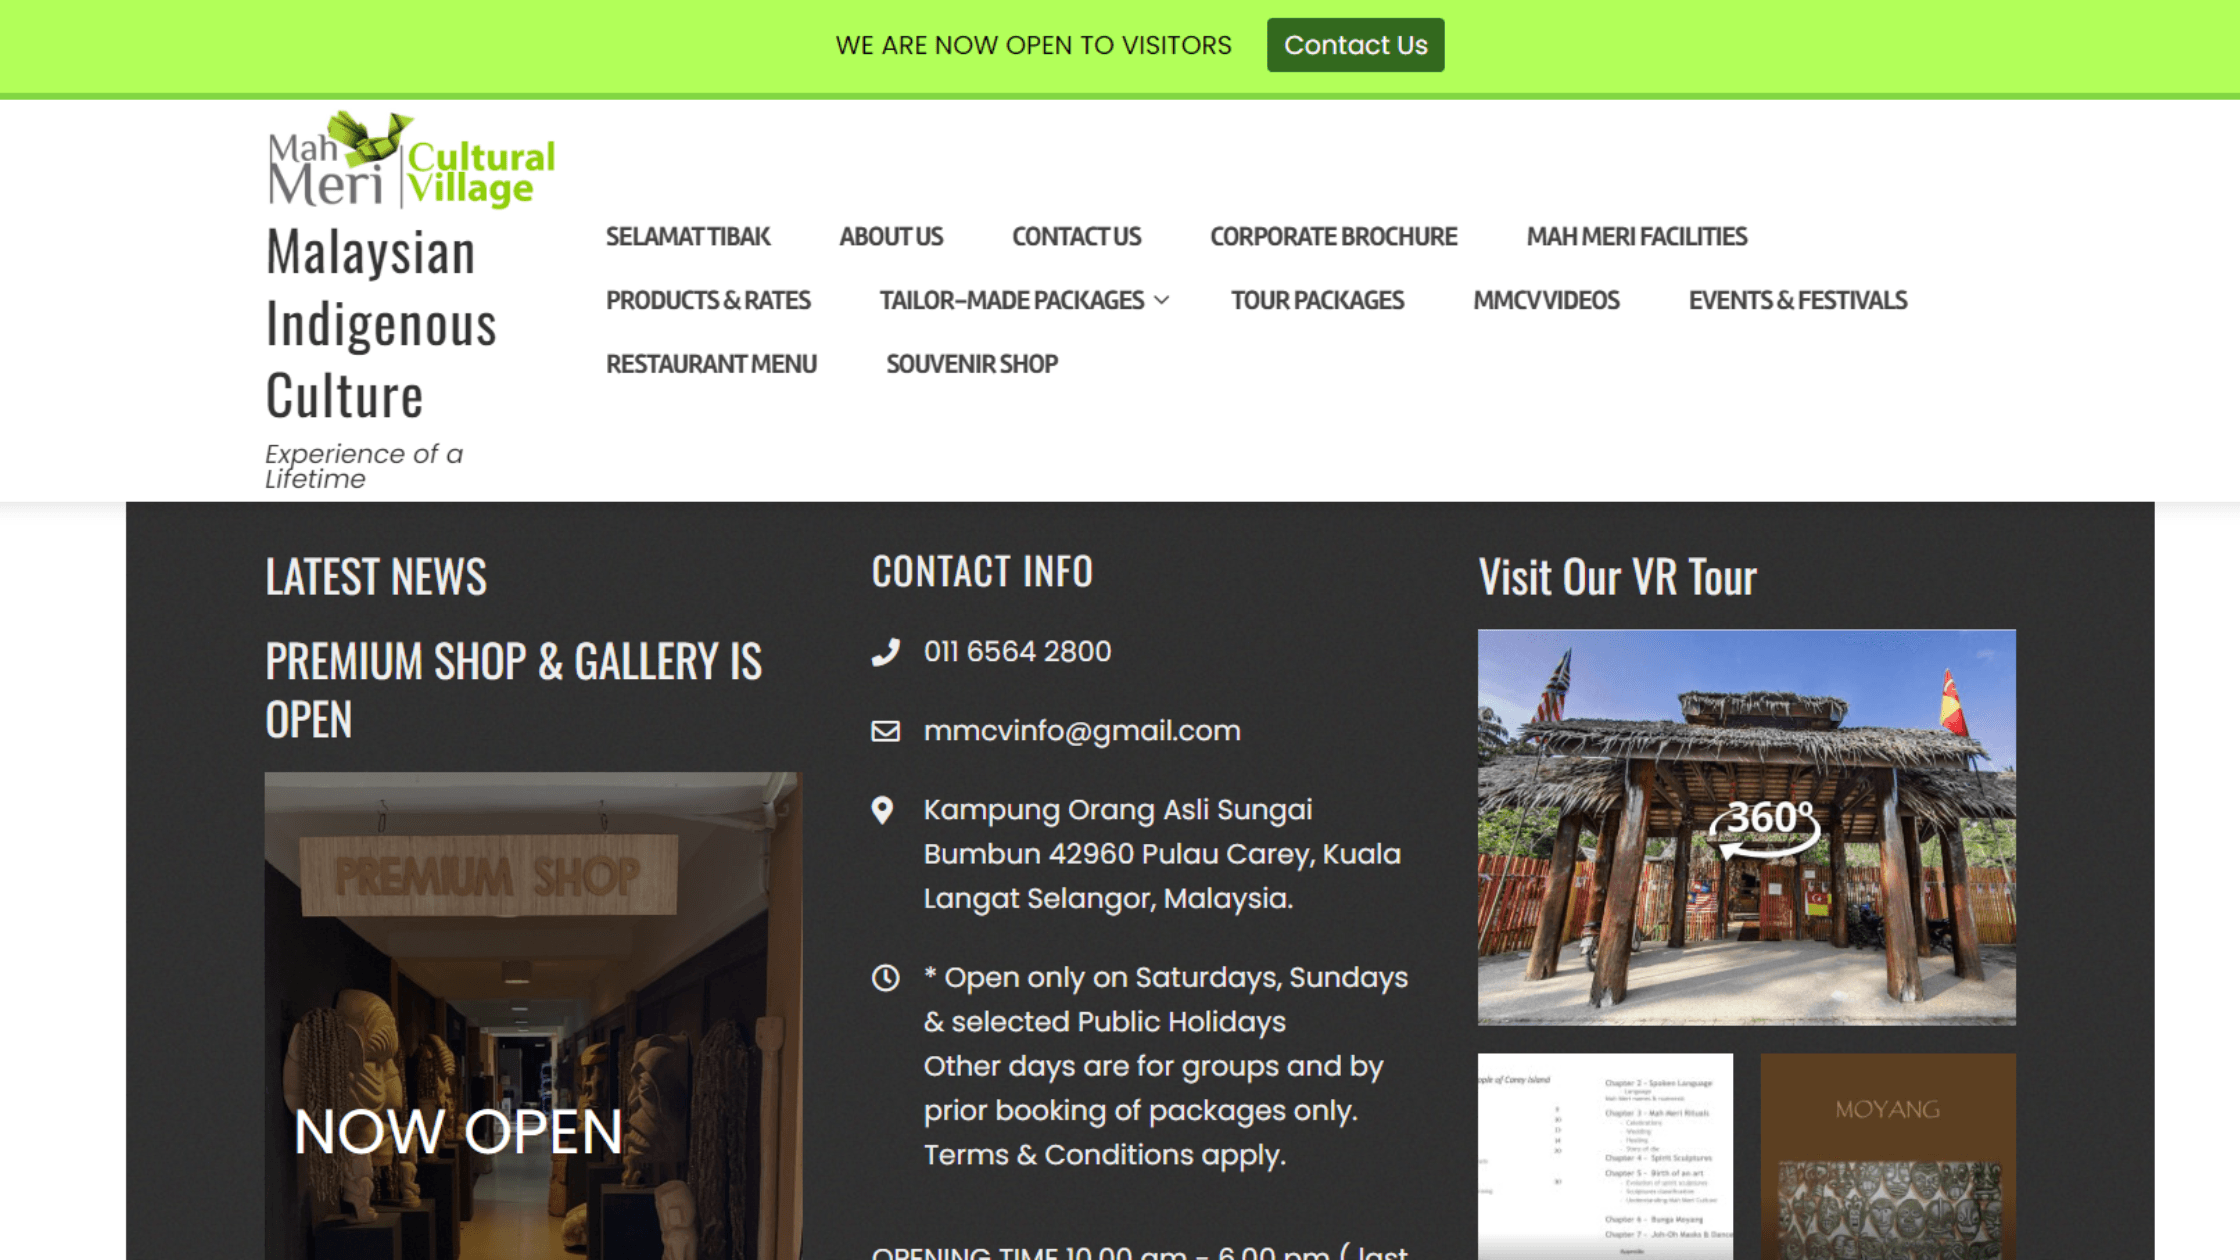
Source: Mah Meri Cultural Village
How to Add a Direct Link:
- Step 1: Get the URL from your virtual tour provider.
- Step 2: Create a button on your website. We suggest keeping the message straightforward and easy for people to get immediately. For example: "Virtual Tour", "Explore in 360°" or "360° Tour."
- Step 3: Add the link and hit publish.
Why Choose a Direct Link?
- No Coding: Just copy and paste - simple!
- Fewer Site Load Issues: Embedding large virtual tours could slow down your page load times. Using a direct link reduces this risk.
- No Additional Design: A direct link keeps the main content separate from the virtual tour.
Tip:
- If you don't have a website, find a virtual tour provider that can offer a user-friendly website-like interface. Kill two birds with one stone!
Get in touch with us to create your virtual tour.
3. Make the Virtual Tour Your Website Header
For businesses that want to maximise the viewership of their virtual tour, why not be bold and do it differently? Place it in the website header for maximum impact. From our experience, websites that choose this method get the highest views. That is where having stunning panoramic images can make a difference to how the virtual tour looks in the header.
Use Cases
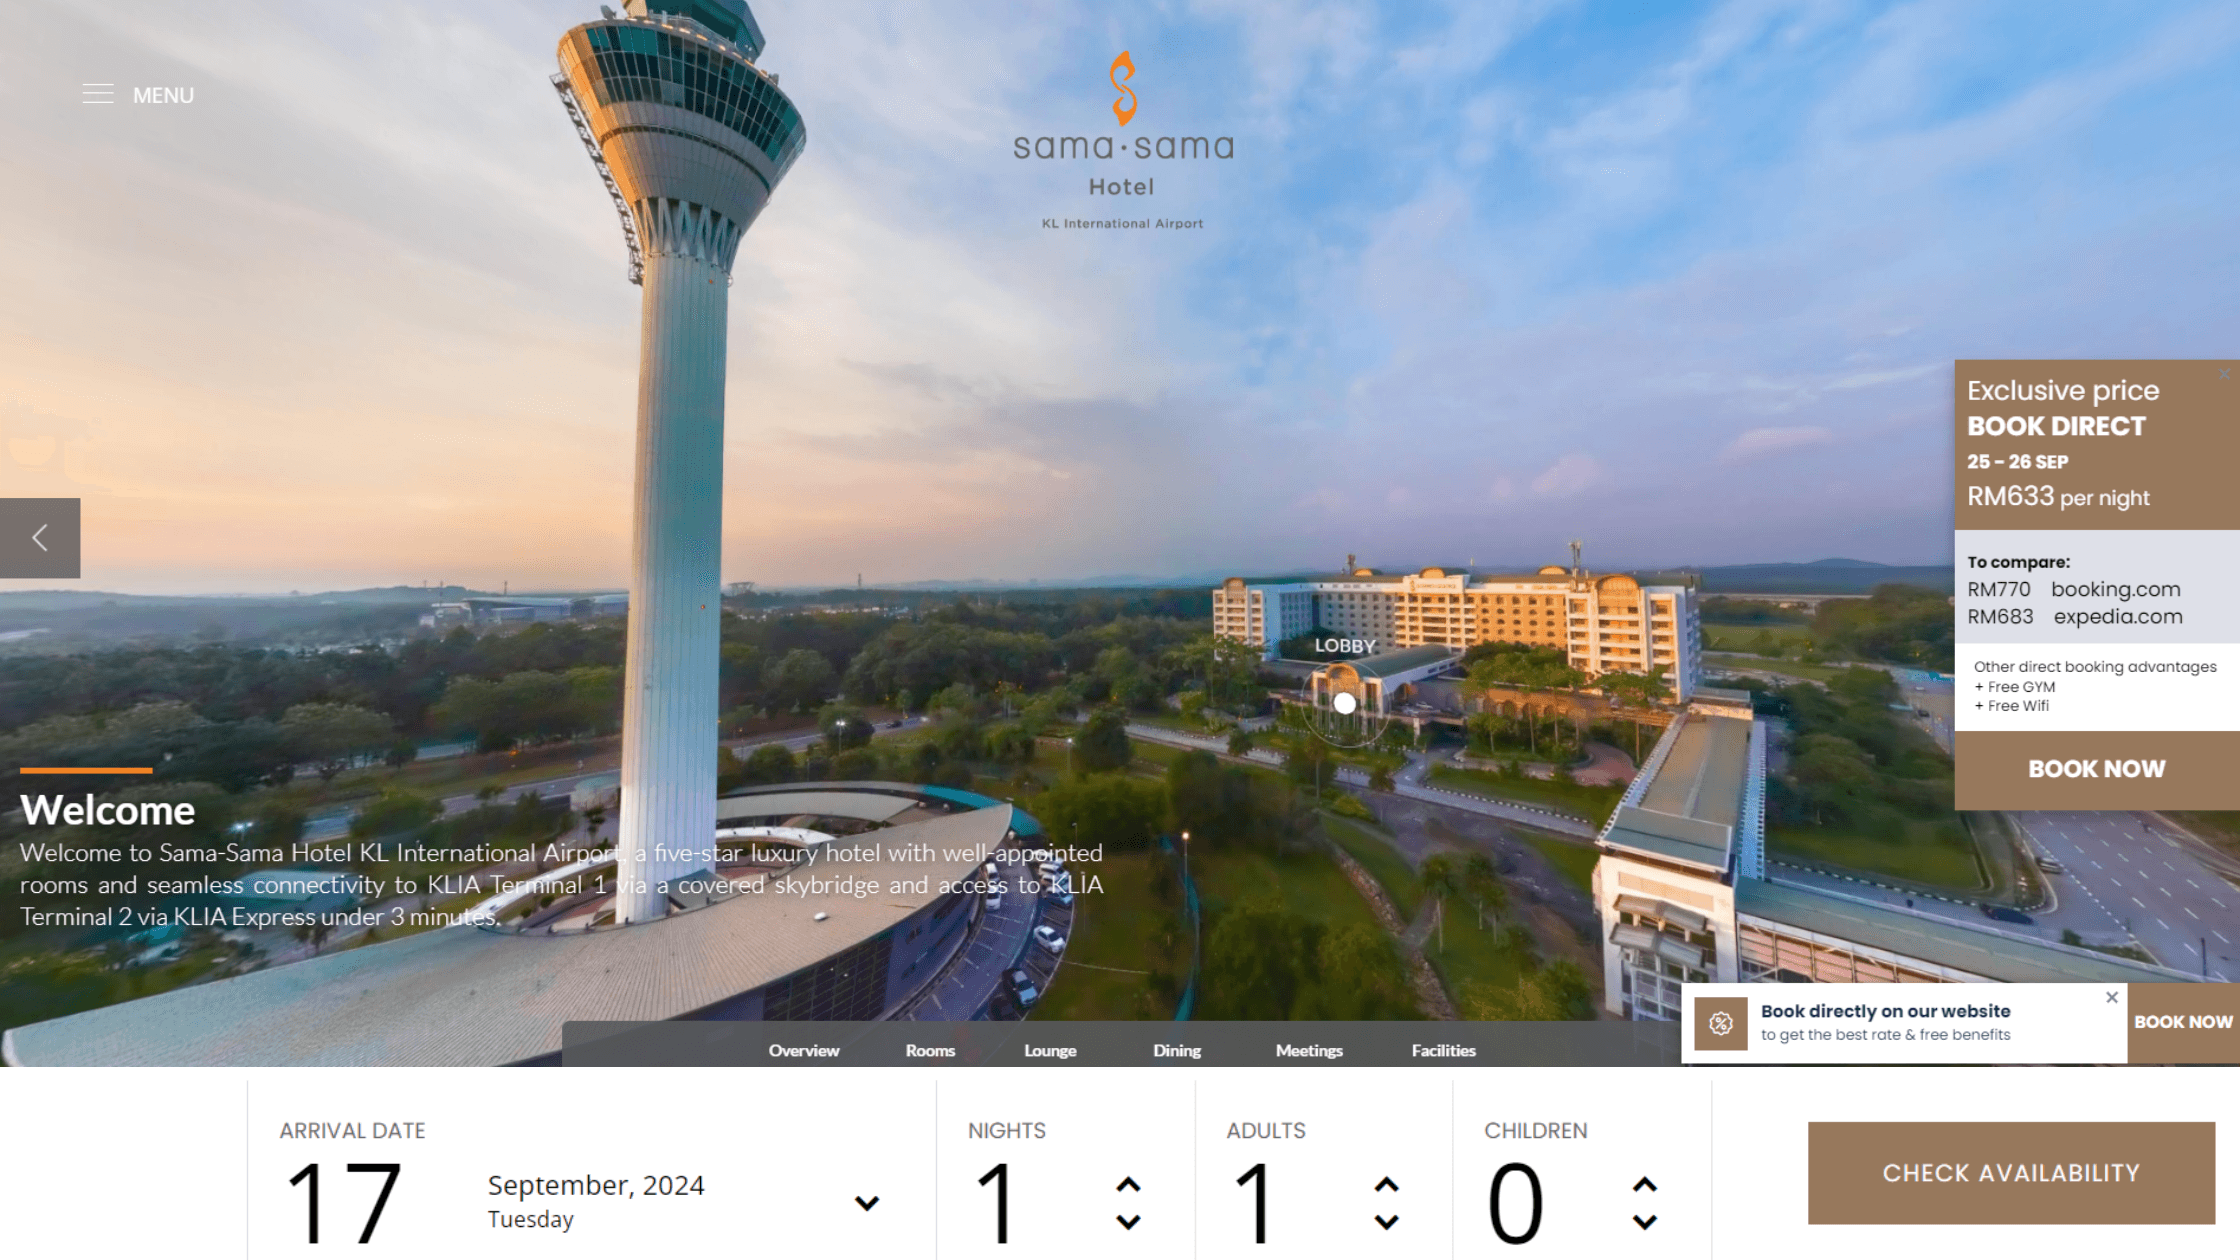
Source: Sama-Sama Hotel
Two Ways to Make the Virtual Tour Your Header:
- Method 1: Embed the virtual tour directly into the header. Make sure it is optimised for the header section and adjust your CSS to ensure responsiveness across devices.
- Method 2: Add an eye-catching image as the top banner, then add a button linking to the tour.
Why Add It The Header?
- Maximum Visibility: It is the first thing visitors see when they enter your site. They can't miss it!
- Leverage on Quality Images: If your virtual tour is filled with gorgeous panoramas, why not make full use of them by putting them front and centre?
- Brand Presence: This positions you as a forward-thinking company that embraces innovation and stays ahead of digital marketing trends.
- Show the Space: If showcasing the space is your main objective (say if you are running a hotel or selling an integrated township), then having it in the header can drive engagement from the get go.
Get in touch with us to create your virtual tour.
4. Turn it into a Pop Up
You may want to embed your virtual tour on your website, but not as part of the landing page. This may be the case if your company has a particular aesthetic, or if the website cannot support custom HTML. You can include a button that, when triggered, opens up a window displaying the virtual tour. This keeps the design intact while letting visitors access the virtual tour, without redirecting them to another page.
Use Cases
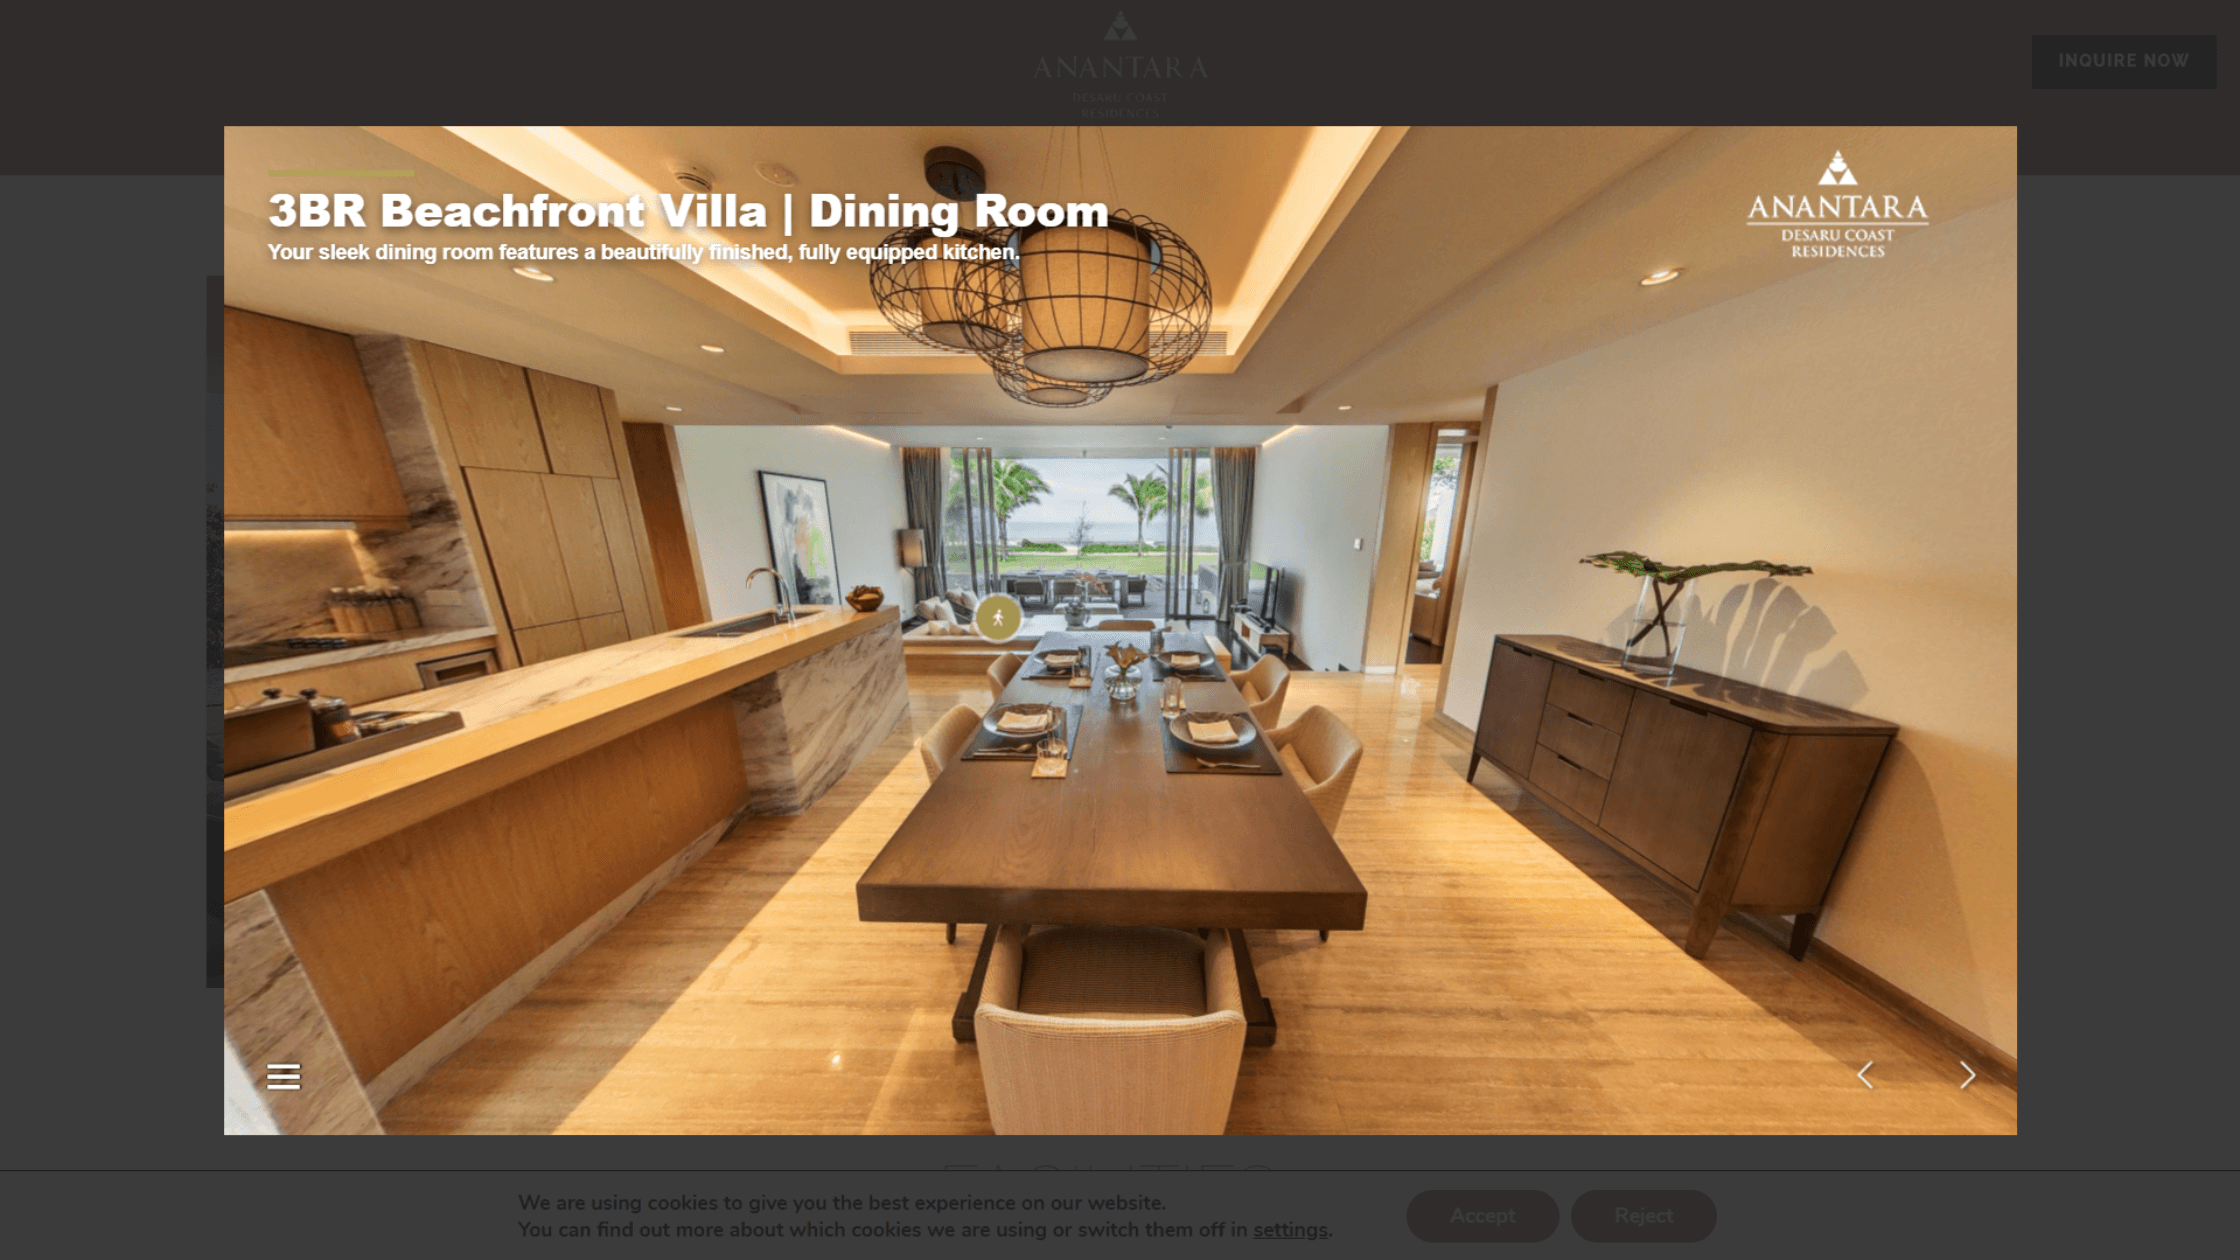
Source: Anantara Desaru Coast Residences
How to Add a Pop Up:
- Step 1: Create a button on your site. It can be a call-to-action or a stylised icon that encourages people to click.
- Step 2: Add a pop-up functionality using JavaScript or a plugin. You can get creative by customizing the sizes, styles and behaviour accordingly.
- Step 3: Test to ensure it appears as desired before hitting publish.
Why Use a Pop Up?
- Keep Website Aesthetic: Keep the experience streamlined without altering the structure of your page.
- Keep Visitors On Site: Reduce bounce rate and retain traffic on your site.
Get in touch with us to create your virtual tour.
5. Upload the Files onto Server
Uploading the files directly into your website lets you host the entire virtual tour in your infrastructure. This is good if you want more control over the hosting, however do take note that you would need to engage a developer to set this up and deploy the virtual tour files each time there is a change.
Why Choose to Upload Directly?
- Full Control: Have complete control over how your virtual tour is hosted and displayed, without relying on third-party platforms or external servers.
- Customisable: If you have coding knowledge, you can make minor adjustments to customise the size and look according to the website aesthetic.
Get in touch with us to create your virtual tour.
Find the Right 360° Virtual Tour Provider for You
Actsugi is a virtual tour and digital content creator based in Kuala Lumpur, Malaysia. We create immersive 360° virtual tours for diverse industries with user-friendly layouts, high-quality 11K photography, true-to-life 3D renders, and a variety of storytelling features. Our virtual tours are optimised for web, mobile, tablets and VR devices - so they can be viewed anywhere and anytime across the world. Our team is based in Malaysia, and is able to accept work globally.
Get in touch with us to create your virtual tour.


 Source: Gamuda Cove


